New ZenPacks
New ZenPacks can be created in Zenoss by going to the Settings->ZenPacks page and selecting the Create ZenPack... menu item on the ZenPacks page. This creates the ZenPack on the filesystem at $ZENHOME/ZenPacks/ZenPacks.community.YourZenPack and installs it into Zenoss. You may then proceed to add device classes, templates, MIBs or just about anything to the ZenPack with the Add to ZenPack menu option. This is known as "Development Mode" for the ZenPack. Once you are happy with your ZenPack, you can export it for others to use.
The Problem
The problem with your freshly exported .egg ZenPack is that once you've installed it on another system (or uninstalled and re-installed your new ZenPack) you can no longer add things to the ZenPack. There are 2 solutions available to resolve this issue.
Source ZenPacks
If you have the source for the ZenPack available you can simply attach to the source tree. Assuming that the source directory is ZenPacks.community.YourZenPack, install the ZenPack with the following
zenpack --link --install ZenPacks.community.YourZenPack
followed by
zopectl restart
Your ZenPack should now be usable and back in development mode. Changes made to the ZenPack will be persisted back to the source tree, you may still export and download as necessary. When you are satisfied with your changes, you may commit and push them back to the github repository.
Converting .eggs to Development Mode
If you wish to convert an already installed ZenPack, or to install and convert an .egg ZenPack, follow these steps.
- Install the .egg as you would a normal egg ZenPack.
- Restart Zope with zopectl restart
- Copy the ZenPack development files into the .egg's directory (the CONTENTS directory is unnecessary):
cp $ZENHOME/Products/ZenModel/ZenPackTemplate/* $ZENHOME/ZenPacks/ZenPacks.community.YourZenPack-1.0.2-py2.4.egg/
- You may now make any modifications to the ZenPack, updating the version number, adding new device classes, etc.
- Go into the ZenPack from the ZenPacks tab in Settings.
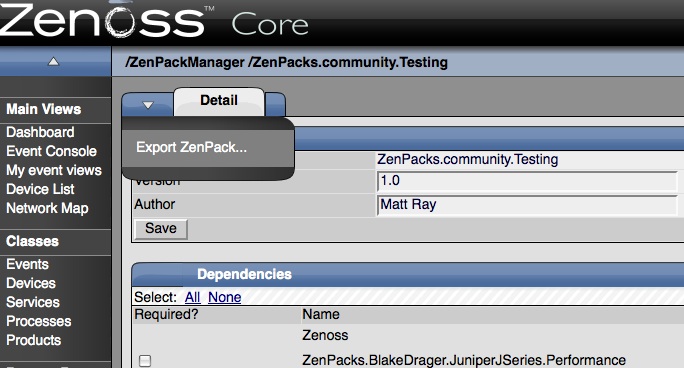
- Save and then Export the ZenPack. The changes will be persisted to the new .egg and the filesystem.
- There is a minor bug in the "export and download" option. The new version that is saved into the export directory will have the correct name with all the updates (e.g. ZenPacks.community.YourZenPack-1.0.3-py2.4.egg). If you choose to "export and download" the ZenPack, it will have the original name despite the updated version (e.g. ZenPacks.community.YourZenPack-1.0.2-py2.4.egg) or it may fail to download. Use the version in the export directory.
